What Are Ski Bindings and the DIN Setting? Why Professional Adjustment Matters
The DIN setting is the setting that determines the force at which a ski binding releases your boot in a fall; the name comes from an old German standard, and today settings are made according to the ISO 8061 and ISO 11088 standards. The value is chosen by weight, height, age, boot sole length and skier type (I, II, III). According to the 2015 edition of ISO 8061, the value is reduced by 15% for a type 1 skier and increased by 15% for type 3; it is also reduced by 15% for skiers under 10 and over 50. A setting that is too low can make the binding release unnecessarily, while one that is too high can stop it releasing in a fall and lead to injury. That is why the setting is made and tested by a trained technician; all you need to do at the rental shop is give your correct weight, height, age and level.
A ski binding does two jobs: it holds the boot firmly to the ski while you ski, and it releases the boot in a dangerous fall. This release force is set with a number shown in small windows on the front and rear parts of the binding; this number is commonly called DIN.
The name "DIN" comes from a German standard for release values published in the 1980s (DIN 7881). Today, binding release values are set according to ISO 8061, and mounting, adjustment and inspection according to ISO 11088.
The 5 details that determine the setting
According to LOOK's technical manual, the setting is chosen using the following details:
Weight
Height
Age
Boot sole length (written on the boot in millimetres)
Skier type (release preference)
According to the 2015 edition of ISO 8061, the release value is first calculated from weight, while height sets an upper limit relative to weight. Then the skier type and age adjustments are applied.
Skier type: I, II, III
Type
What does it mean? (LOOK)
ISO 8061:2015 adjustment
Type I
Lower than average setting; releases more easily in a fall. For beginners
−15%
Type II
Average setting; most recreational skiers
No adjustment
Type III
Higher than average setting; the risk of inadvertent release falls, but the risk of non-release rises
+15%
An important detail LOOK stresses: release preference is not the same thing as skier ability. Making yourself out to be better than you are means a setting that is harder than it should be.
Age: According to ISO 8061:2015, the value is reduced by 15% for skiers under 10 and for skiers aged 50 and over; in LOOK's chart, this means a setting one row lower.
Why should you not adjust it yourself?
Training is required: LOOK requires anyone who mounts, adjusts and tests bindings to have completed the manufacturer's technical training.
Testing is required: Adjustment is not just turning the number in the window; the compatibility of boot and binding and the actual release force are checked with a calibrated test device. LOOK recommends this inspection after every adjustment and every 30 ski days or once a year.
There are limits: LOOK's manual states that even a correctly adjusted binding cannot release under every load that could cause injury. A binding reduces the risk; it does not eliminate it.
ISO 11088 covers systems owned by the user or rented for 15 days or longer; there is a separate standard (ISO 13993) for short-term rentals.
What should you do at the rental shop?
Give your correct weight, height and age. Hiding a few kilos changes the setting.
State your level honestly. If it is your first time skiing, say so.
Put on and try your boots first; the binding is adjusted to those boots. For choosing boots, see our guide How do you choose ski boots?.
If it releases by itself often during the day, or you suspect it is not releasing at all, go back to the rental shop.
For knee injuries and the role bindings play in them, see our guide Knee injuries in skiing.
Equipment included in the package
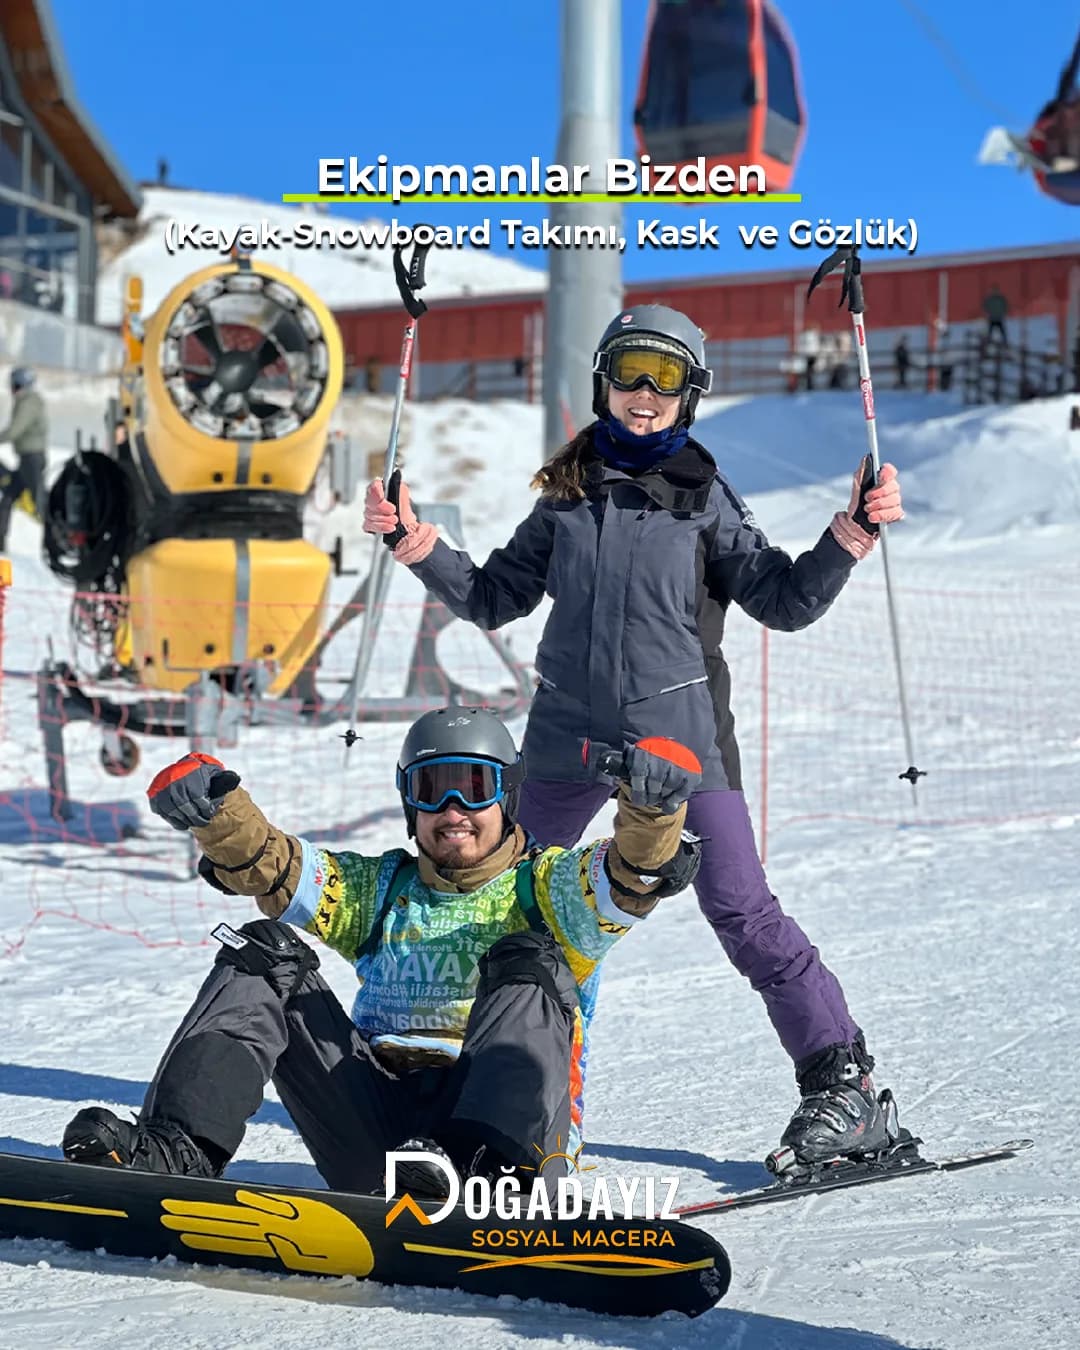
Properly adjusted equipment is skiing's quietest safety measure. On an activity holiday, equipment rental is part of the programme: on Doğadayız winter packages, ski or snowboard equipment is included and collected from the rental shop. Picking up your equipment with the group and hitting the slopes the same day is the opening scene of a social adventure holiday; for programmes, see the winter activity holidays page.
Doğadayız Packages
Doğadayız packages for your level
Winter activity holidays with accommodation, ski pass and equipment included, shared with a group.
The easiest way to learn to ski: a winter activity holiday
An activity holiday puts a sport at the heart of your trip: transport, accommodation and meals are planned, so you can focus on learning on the slopes. On Doğadayız winter activity holidays, accommodation, ski pass and ski or snowboard equipment are included in every package; course packages include basic lessons with instructors affiliated with the Turkish Ski Federation, while experience packages let you practise on the slopes at your own level.
What makes the programme different is the group: sharing the slopes with people at a similar level, dinners and nights out together, and a group leader by your side at all times. Solo travellers become part of this social adventure holiday from day one. That is why we describe our programmes as a social adventure holiday.
It is the setting that determines the force at which a ski binding releases your boot in a fall. The name comes from an old German standard; today settings are made according to the ISO 8061 and ISO 11088 standards.
What determines the DIN setting?
Weight, height, age, boot sole length and skier type (I, II, III). According to the 2015 edition of ISO 8061, it is reduced by 15% for type 1 and increased by 15% for type 3; it is reduced by 15% for skiers under 10 and over 50.
Can I adjust my ski bindings myself?
It is not recommended. Manufacturers require the setting to be made by trained technicians and tested with a calibrated device. At the rental shop, all you need to do is give your correct weight, height, age and level.
When choosing ski boots, you look at four things: size, flex (stiffness), last width and fit. Ski boot sizes are given in the Mondopoint system: your foot length in centimetres (e.g. 26.5). For beginners, a soft to medium flex is recommended; Nordica gives this range as 40–80, while Atomic puts it at the lower end of a scale starting at around 70, but there is no common measuring standard for flex across brands. The most common mistake is buying boots that are too big: according to Atomic's shell test, 2 cm of space behind the heel in the boot with the liner removed is right for most skiers, and 3 cm is too big.
For a beginner, skis should be short and easy to turn. Manufacturers' rules differ slightly: Atomic recommends a length at about chin height for beginners; Salomon says to choose skis 10–15 cm shorter than your height, and 15 cm shorter for complete beginners; Head points to between the chin and the nose. If you are light and inexperienced, choose the shorter end; if you are heavy or sporty, the longer end. A short turn radius (about 12–15 m) and a little rocker make turning easier. In your first season, renting rather than buying is the easiest way to try out the right length.
You start snowboarding by finding your stance (regular or goofy), with a beginner lesson with an instructor and with rental equipment. On day one you learn to push with one foot and to side-slip on your heel edge (heelside) and your toe edge (toeside); then you change direction with the falling leaf, and usually on day 2–3 you make your first linked turns.