Walking, Gliding and Changing Direction on Skis on Flat Ground
Moving on skis on flat ground starts with four basic skills: walking in small steps and sliding your feet, turning on the spot with a star turn, climbing with a side-step or herringbone (V-step) and moving across the flat with a skating step. The instructors' associations PSIA in the USA and CSIA in Canada teach these skills, together with getting to know the equipment and falling and getting up safely, before the first glide on a slope. Poles are for balance, not support; your weight always stays on your feet.
In the beginner lesson sequence of PSIA, the American association of professional ski instructors, there are two steps before the first glide on a slope: walking, stepping and sliding, followed by climbing. The lesson plan of CSIA, the Canadian ski instructors' alliance, is similar: first gain mobility by walking, learn to put on and take off the equipment, fall and get up safely, then climb with a side-step or herringbone.
There is a logic to this order. According to PSIA, the side-step is a prerequisite for the traverse and sideslipping you will learn later; the herringbone prepares you for the skating step on flat ground. Someone who is comfortable on the flat also trusts their skis more quickly on a slope. We explain the correct body position in our guide The correct basic ski stance.
Carrying your skis
The method PSIA describes is simple: lock the ski brakes into each other, put the skis on one shoulder with the tips forward and carry the poles in your other hand. Because the skis are locked together, they do not slide apart and stay balanced in one hand.
Walking and sliding
Take small steps. PSIA suggests thinking of your skis as "very long feet".
Stand tall. A fairly tall stance with your skis hip-width apart; a very low stance tires your legs quickly.
Hold your poles lightly. Your arms swing diagonally, as in normal walking.
Do not lift your feet; slide them. Once your steps flow, slide your feet forward without lifting them off the snow.
Push with your poles. In the final stage, you glide on both skis and push with your poles.
The star turn: turning on the spot
To turn back or change direction on the flat, you turn by fanning your skis out:
Lift one ski, turn its tip slightly in the direction you want to go and put it down.
Bring the other ski next to it.
Repeat until you are facing the direction you want.
PSIA's tip: put the ski you are moving down slightly away from the other one, so the skis do not cross over and lock you in place. The name comes from the tracks it leaves in the snow: a star with many points.
The side-step: climbing like a staircase
The most controlled way to climb a short slope is the side-step:
Stand with your skis at right angles to the fall line, that is, sideways to the slope.
Lift the uphill ski, move it sideways up the slope and step onto it.
Bring the lower ski next to it.
Setting the edge is the heart of it: turn your knees slightly towards the slope so that the uphill edges of your skis bite into the snow. According to PSIA, in the upper boot you feel the pressure on the outside edge of the foot and the little toe, and in the lower boot on the arch and the big toe. The poles are there to keep your balance, not to carry your body.
Try it on the flat first, then climb a gentle slope and use the same movement to side-step back down.
The herringbone (V-step)
On a longer but gentle uphill, the herringbone is faster:
Open the tips of your skis and keep the tails close together; PSIA describes roughly 60–90 centimetres between the tips.
Turn your knees outwards; when your knees and ankles tilt inwards, the skis sit on their inside edges and do not slide back.
As you step, place the tail of the ski you lift in front of the binding of the ski you are standing on, so the tails do not hit each other.
The track left in the snow looks like a fish skeleton; that is where the name comes from.
The skating step
The skating step is the fastest way to move on the flat and when approaching the magic carpet. PSIA-NW's description:
Push off from an angled ski tilted onto its edge and glide on the other ski.
Before the next step, bring the pushing ski alongside.
While learning, always pushing with the same foot makes it easier; then alternate both feet.
The direction changes with the skating step itself, not by twisting the ski; the upper body stays calm and balanced. PSIA's advanced goal is to glide on one ski for two or three ski lengths. If the pushing ski slips away, set the edge before pushing by tilting your foot, ankle and knee towards the other foot.
Getting up after a fall
Bring your skis at right angles to the fall line and under your body.
Plant your poles on the uphill side and push and pull yourself up over your feet.
If that does not work, take off the uphill ski. It is easier to put the ski back on while you are standing on the lower ski.
According to PSIA, getting up on a gentle slope is often easier than getting up on completely flat ground. For more, see the entry falling and getting up in the glossary.
Common mistakes
Mistake
Result
Correction
Leaning on your poles
Weight shifts off your feet, the skis slide
Poles only for balance; weight on your feet
Too low a stance
Your legs tire quickly
Stand fairly tall, skis hip-width apart
Crossing the skis in a star turn
The skis lock, you fall
Place the ski you move slightly away
Not setting the edge when side-stepping
The ski slides downhill
Turn your knees slightly towards the slope
Crossing the tails in a herringbone
The skis catch on each other
Place the tail in front of the other ski's binding
Trying to twist the ski in a skating step
Loss of direction
Change direction with the step, upper body calm
From first steps to enjoying the slopes
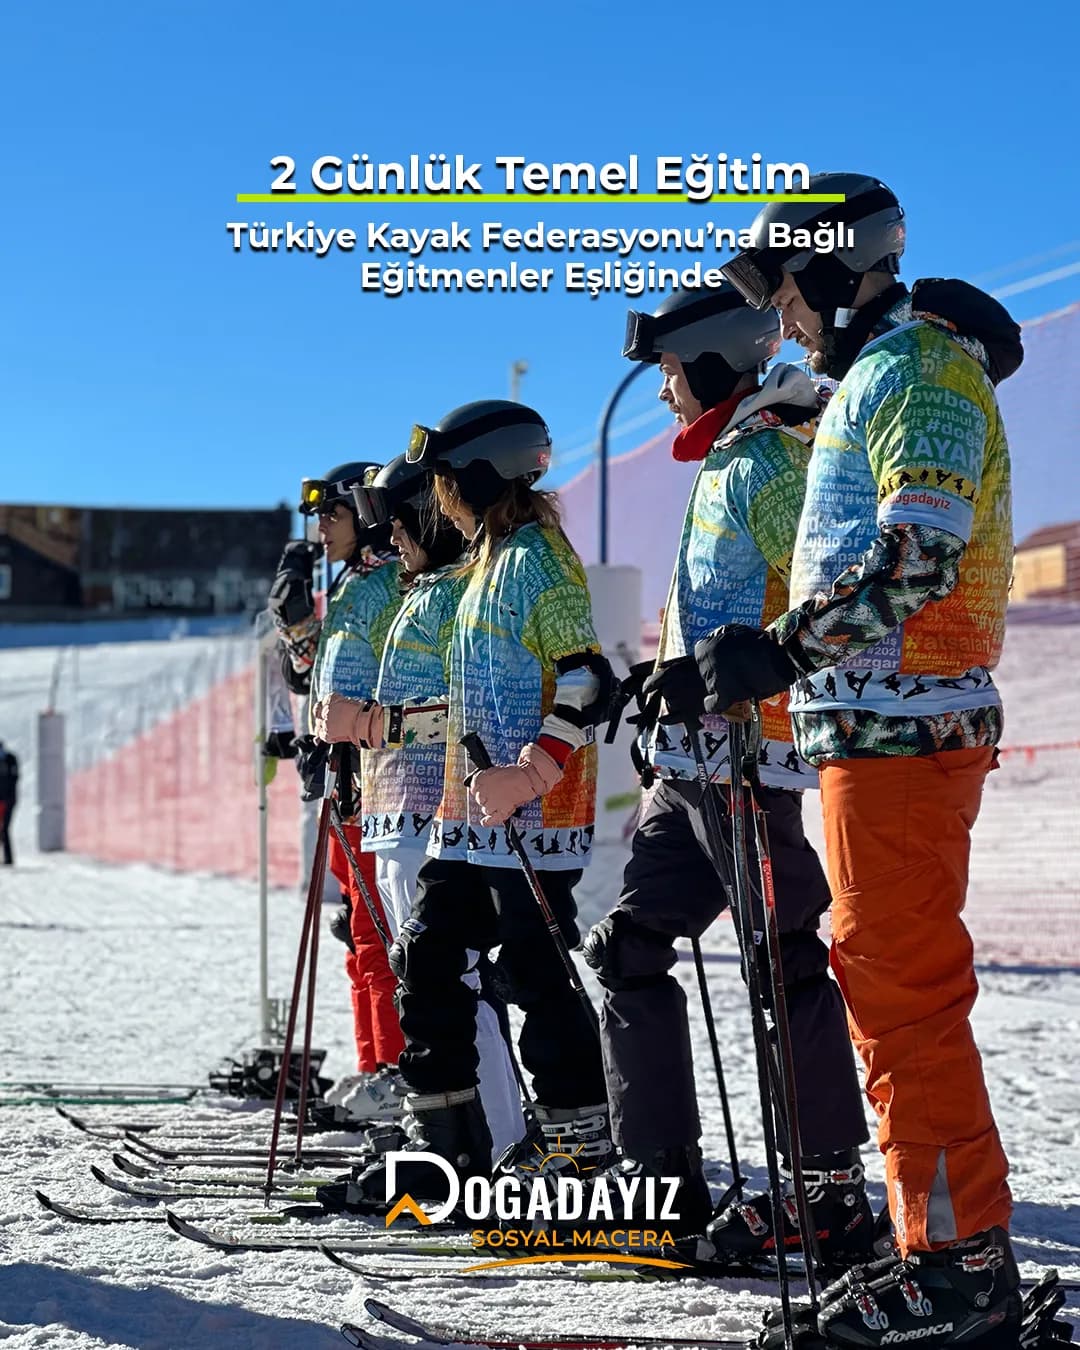
Every minute you spend getting comfortable on the flat is time gained on the slope. The first morning of an activity holiday usually starts with these steps; on Doğadayız basic course packages these steps are taken with an instructor, and all winter packages include accommodation, ski pass and equipment. That first morning, helping each other up and laughing with people taking their first steps on the same flat, is also the start of a social adventure holiday. For the next step, see our guide Snowplough technique; for programmes, see our winter activity holidays page.
Doğadayız Packages
Doğadayız packages for your level
Winter activity holidays with accommodation, ski pass and equipment included, shared with a group.
The easiest way to learn to ski: a winter activity holiday
An activity holiday puts a sport at the heart of your trip: transport, accommodation and meals are planned, so you can focus on learning on the slopes. On Doğadayız winter activity holidays, accommodation, ski pass and ski or snowboard equipment are included in every package; course packages include basic lessons with instructors affiliated with the Turkish Ski Federation, while experience packages let you practise on the slopes at your own level.
What makes the programme different is the group: sharing the slopes with people at a similar level, dinners and nights out together, and a group leader by your side at all times. Solo travellers become part of this social adventure holiday from day one. That is why we describe our programmes as a social adventure holiday.
With small steps, a fairly tall stance and your skis hip-width apart. Hold your poles lightly and let your arms swing as in normal walking. Once your steps flow, slide your feet without lifting them off the snow.
How do you climb uphill on skis?
On short slopes, with a side-step: the skis stand at right angles to the slope, first you move the uphill ski sideways, then bring the lower one alongside; your knees turn slightly towards the slope. On longer but gentle slopes you use the herringbone: tips open, tails close, skis on their inside edges.
How do you get up after falling on skis?
Bring your skis at right angles to the fall line and under your body, plant your poles on the uphill side and push yourself up over your feet. If that does not work, take off the uphill ski, get up on the lower ski, then put the ski back on.
You start skiing with a beginner lesson with an instructor, rental equipment and easy (beginner) slopes. On day one you put on your skis, glide on flat ground, learn to stop with the snowplough and ride the magic carpet; on day two you come down an easy slope under control with snowplough turns. For an adult who has never skied, this stage usually takes 2 days.
The correct basic ski stance is the position the American instructors' association PSIA calls the athletic stance: in a fairly tall stance your weight is spread evenly over both feet; your ankles, knees, hips and spine are slightly flexed forward; your upper body is upright but relaxed and your hands are comfortably forward, within your field of vision. Your hips and upper body are centred over your feet; your head and shoulders appear stacked over your hips and feet. According to PSIA, feeling your ankle flex into the tongue of the boot and your weight on the balls of your feet eliminates leaning back, the most common beginner mistake.
The snowplough (pizza) is the V position made by bringing the tips of your skis together and pushing the tails apart, and it is how a beginner controls speed and stops. The American instructors' association PSIA distinguishes two types: the braking snowplough, which is wider and presses on the edges and is used to cut speed and stop; and the gliding snowplough, which is narrower with little friction and is used to learn turns. According to PSIA, in a good snowplough turn speed is controlled by the shape of the turn, not by the width of the snowplough; a big braking snowplough, on the other hand, makes your hips drop back.