How Do You Choose and Set Up Snowboard Bindings? Systems, Compatibility, Stance and Angles
When choosing snowboard bindings, ask three questions in order: system (classic straps, rear-entry or locking like Burton Step On), compatibility (the board's hole pattern: 4x4, 2x4 or Burton Channel; Step On bindings only work with Step On boots) and size (based on your boot size; the boot can overhang the board edge slightly, but any more and it drags). For setup, the starting point is the board's reference stance and a stance slightly wider than shoulder width; for angles, around +15° at the front and between 0 and −6° at the back is common for beginners. NZSIA recommends that the difference in angle between your two feet should not exceed 30°.
According to NZSIA, the "cap strap" is now the industry standard for the toe strap; works with any boot
Rear-entry
The highback folds down, the boot slides in from the front, the highback closes
Flow is now part of Nidecker; Nidecker's Supermatic model is designed to work with boots from any brand
Burton Step On
The boot locks into the binding with two toe locks and one heel lock
Step On boots and bindings are compatible only with each other
If you are buying your own bindings, check compatibility with your boots first; we cover boot choice in our guide How do you choose snowboard boots?.
Board compatibility: hole patterns
As Burton explains, there are four mounting patterns on boards:
Pattern
What is it?
Compatibility
4x4
Holes spaced 4 cm apart in each direction
Largely abandoned
2x4 / 4x2
A denser hole pattern
The most common on non-Burton boards
3D
Triangular pattern
Burton boards from before 2014
Channel
A channel along the board, two screws per binding
Compatible with Burton bindings; non-Burton bindings with a suitable adapter disc
Burton's EST bindings are compatible only with Channel boards.
The box of Burton's Re:Flex bindings contains 2x4 and 4x4 discs; a separate disc may be needed for Channel. Since Burton's own pages give different information on this, check what is in the box for the model before you buy.
Size and flex
Size is chosen by boot size. For example, in Union's chart, size S is for US 5.5–7.5, M for 8–10, L for 10.5–13 and XL for 13–15; every brand's chart is different. According to NZSIA, a binding that is too big reduces the board's response, and one that is too small is uncomfortable. A slight overhang of the boot beyond the board edge helps with turning; any more and it drags. We cover board width in our guide How do you choose your first snowboard?.
Flex varies from brand to brand. Burton classifies its bindings as soft, medium and stiff:
Flex
For whom?
Soft
Freestyle, lighter riders
Medium
All-mountain, beginners
Stiff
Freeride, heavier riders
Flex ratings out of 10 are not a common measure across brands.
Stance width
Starting point: According to Burton, the board's reference stance (the recommended width marked by the manufacturer) and a stance slightly wider than shoulder width.
Measuring: Stance width is the distance between the centres of the two bindings. NZSIA gives another method: the distance from the middle of your kneecap to the sole of your boot.
Adjusting: According to Burton, if you struggle with balance, widen it; if you struggle to start turns, narrow it.
Angles describe how far the binding is rotated from a line perpendicular to the board: plus towards the nose, minus towards the tail. On Burton's binding disc, each notch is 3°.
The typical ranges Burton gives are +6° to +22° for the front foot and −15° to +15° for the back foot. But NZSIA sets a limit: the difference in angle between the two feet should not exceed about 30° (for example +21/−9); more than that can lead to serious knee problems. NZSIA also notes that a duck stance can put unnecessary strain on the back knee when carving. You can also read about how angles affect your riding in the binding angles entry in the glossary.
Centring and setback
Centring: According to NZSIA, bindings are centred on the board's sidecut; this is not always the exact middle of the board.
Toe–heel balance (drag test): According to Burton, if the toe of your boot drags in the snow, move the binding 6 millimetres towards the heel edge; if your heel drags, move it towards the toe edge. When the board is tilted to 45°, the boot should not touch the snow.
According to Burton, most beginners use zero forward lean in their first days; riders who carve prefer more lean.
According to NZSIA, forward lean speeds up response on the heelside but reduces range of motion and can tire your legs.
The highback is rotated so that it is parallel to the heel edge; Burton recommends no more than 30°.
Mounting tips
Tighten the screws by hand; Burton advises against using a power screwdriver and thread locker. Union describes using a #3 Phillips screwdriver and tightening the screws one turn at a time, alternating between them.
Centre the straps on the boot; leave enough spare on the strap teeth.
The toe ramp should not stick out beyond the board edge.
Check the screws again after your first run.
Union's warning: mixing women's and men's Step On products causes malfunctions.
The right setup, a comfortable day
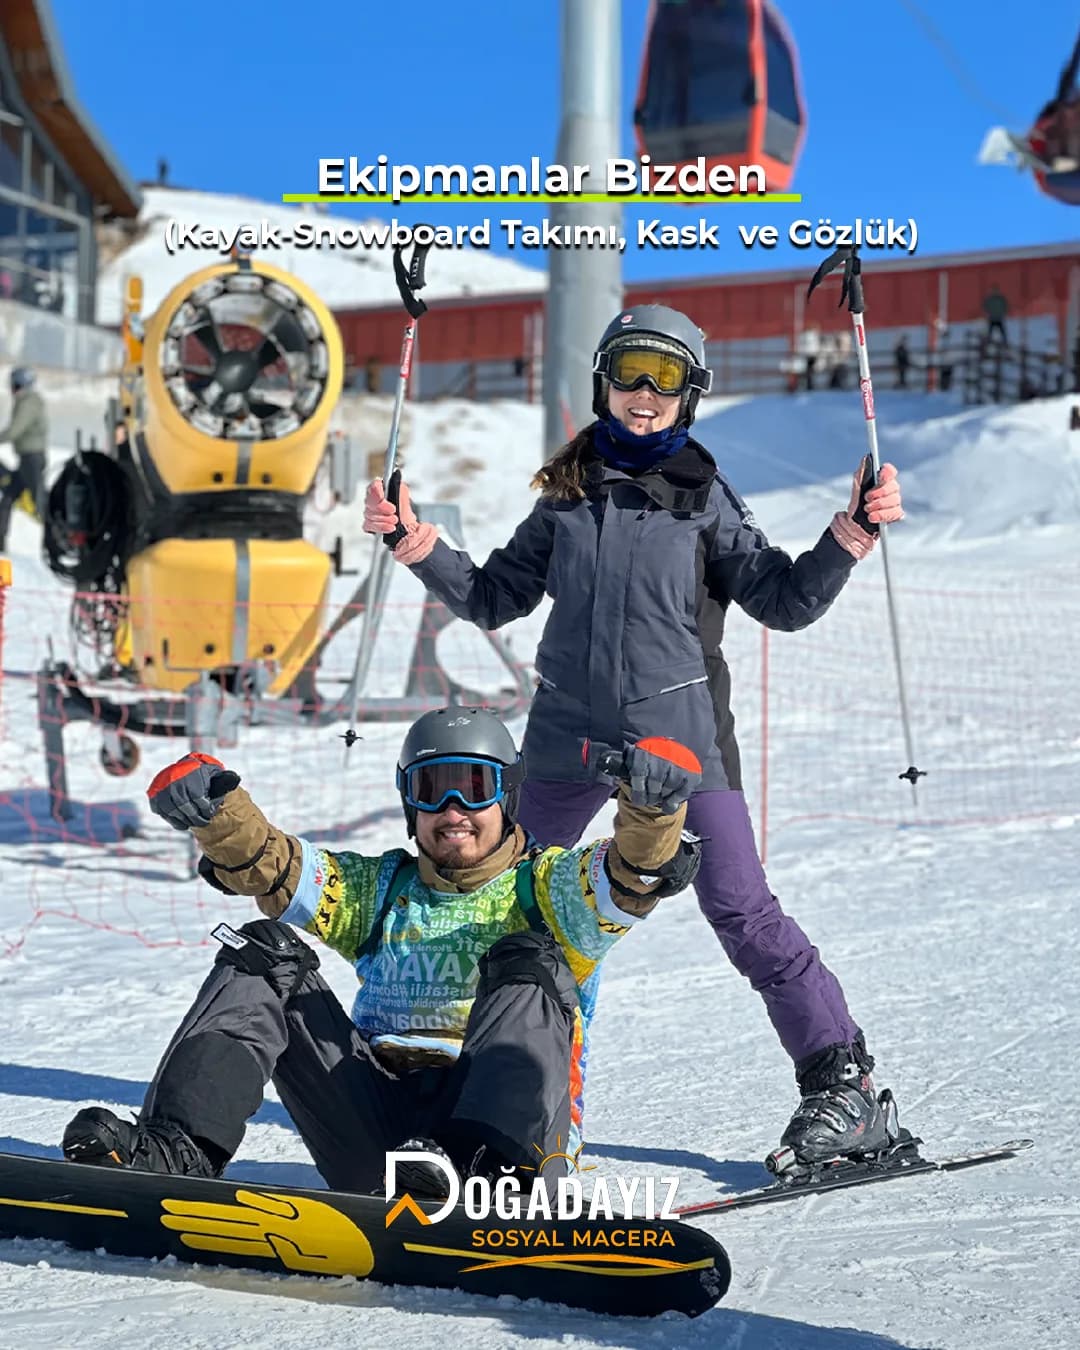
A properly set-up binding protects your knees and makes the board respond to you, which speeds up your progress on an activity holiday. Doğadayız winter packages include accommodation, ski pass and equipment; if the angles on your rental bindings do not suit you, ask the rental shop. Comparing each other's angles at the hotel in the evening and trying them out the next day is one of the little experiments of a social adventure holiday. For programmes, see the winter activity holidays page.
Doğadayız Packages
Doğadayız packages for your level
Winter activity holidays with accommodation, ski pass and equipment included, shared with a group.
The easiest way to learn to ski: a winter activity holiday
An activity holiday puts a sport at the heart of your trip: transport, accommodation and meals are planned, so you can focus on learning on the slopes. On Doğadayız winter activity holidays, accommodation, ski pass and ski or snowboard equipment are included in every package; course packages include basic lessons with instructors affiliated with the Turkish Ski Federation, while experience packages let you practise on the slopes at your own level.
What makes the programme different is the group: sharing the slopes with people at a similar level, dinners and nights out together, and a group leader by your side at all times. Solo travellers become part of this social adventure holiday from day one. That is why we describe our programmes as a social adventure holiday.
Most bindings fit 4x4 and 2x4 hole patterns with a disc. Burton bindings mount directly on Burton Channel boards; non-Burton bindings mount with a suitable adapter disc. Burton EST bindings only work with Channel boards, and Step On bindings only work with Step On boots.
What should my snowboard binding angles be?
For beginners, around +15° for the front foot and between 0 and −6° for the back foot is common. Equal duck angles (Burton's example is +8/−8) are common for freestyle and switch, and positive angles with both feet pointing towards the nose for all-mountain. NZSIA recommends that the difference between your two feet should not exceed about 30°.
How do you set your snowboard stance width?
Start from the board's reference stance and a stance slightly wider than shoulder width; width is measured between the centres of the two bindings. According to Burton, if you struggle with balance, widen it; if you struggle to start turns, narrow it.
When choosing your first snowboard, weight matters more than height: according to Burton, the board only “knows” your weight and your boot size, and manufacturers' weight ranges are recommendations, not rules. A practical starting point is a length that comes between your chin and nose when the board is stood upright; for beginners, Ride finds a slightly shorter board more forgiving. If your boot size is large (men's US 11–12 and above), you may need a wide board; otherwise your toes and heels drag in the snow. For a beginner, soft flex and a forgiving profile (according to Burton, a soft flat profile) make the easiest start. Renting in your first season is the best choice.
Snowboard boots should fit snugly but without hurting, and your heel should not lift. According to Burton, do not assume your everyday shoe size; wear the boots and walk around for 5–10 minutes. When you bend your knees, your toes should lightly touch the end of the liner, and if your heel lifts with the boots fully laced, try half a size smaller. For beginners, a soft and forgiving flex is best. There are three lacing options: traditional laces (full control), BOA (even tightening with a dial, adjustable with gloves on) and two-zone speed lacing. In your first season you can rent boots too; what matters is the right size and fit.
The basic snowboard stance, as defined by the New Zealand Snowsports Instructors Alliance (NZSIA), is a position slightly lower and more flexed than normal standing: feet about shoulder-width apart, weight evenly on both feet; ankles, knees and hips relaxed and slightly flexed; hips and shoulders aligned with the direction of your feet and the board's edge; upper body upright, arms relaxed at your sides; head and eyes turned in the direction of travel. On the heelside, your hips shift slightly towards your heels; on the toeside, your ankles and knees flex more. The two most common mistakes are leaning back towards the tail out of fear and trying to create edge angle by tilting your whole body.