Falling is a natural part of learning to snowboard; what matters is falling correctly. The most important rule: don't try to catch yourself with your hands. According to Burton, you should pull your arms in and take the impact with large, fleshy areas such as your forearms, elbows and bottom, roll with the momentum and tuck your chin to your chest when falling backwards. According to the New Zealand Snowsports Instructors Alliance (NZSIA), when you feel you are going to fall, make loose fists, get low and stay relaxed. This matters because the wrist is the most commonly injured area in snowboarding injuries and the main mechanism is falling; wrist guards also reduce wrist injuries significantly.
On a snowboard, both feet are fixed to the board; when you lose your balance, you cannot recover by stepping out. That is why falls are unavoidable, especially in the first days. In a 10-year study of snowboard injuries in Colorado (American Journal of Sports Medicine, 2000), the wrist was the most commonly injured area, accounting for 21.6% of all injuries, and the main mechanism was falling. Hands thrown out by reflex when you fall put the wrist in the way of the impact. Learning to fall correctly means changing that reflex.
5 rules for falling
Don't try to catch yourself with your hands: As Burton puts it, never try to catch yourself with your hands; pull your arms in, towards your chest.
Make fists: According to NZSIA, when you feel you are going to fall, make loose fists; landing on an open palm strains the wrist.
Get low: Get as low to the ground as you can; the lower you fall from, the smaller the impact.
Stay relaxed: Tensing up increases the impact; NZSIA recommends staying as relaxed as possible.
Land on large, fleshy areas and roll: According to Burton, areas such as your forearms, elbows and bottom should take the impact; roll with the momentum.
Falling forwards (toeside)
On the toeside, facing uphill, you fall forwards. The way instructors teach it:
Drop onto your knees and land on your forearms; make fists with your hands.
Keep your chin slightly up so your face doesn't hit the snow.
On the heelside, with your back to the valley, you fall backwards; these falls are usually harder because you can't see where you are going:
Sit down on your bottom: Drop onto your bottom, low and close to the board.
Round your back: Your back should be curved, not flat like a plank; the impact is spread out.
Tuck your chin to your chest: According to Burton, tucking your chin to your chest as you roll backwards stops the back of your head from hitting the ground.
Don't fling your arms out: Your arms should not reach for the ground; keep them in front of your chest or at your sides.
From the heelside (facing downhill, bottom on the snow):
Bring the board below you, across the fall line, so that it doesn't slide downhill.
Bend your knees to bring the board close to your bottom.
As Burton describes it, get up by rocking forwards; or, as NZSIA suggests, hold the board's toe edge with one hand and push off the snow with the other to get up.
From the toeside (facing uphill, knees on the snow):
Keep the board across the fall line, with the toe edge in the snow.
Push off the snow with your hands to straighten up from your knees.
As Burton describes it, find your balance by rocking backwards and stand up.
Tip (NZSIA): If getting up from the heelside feels hard, lie back with one leg bent, roll onto your stomach and get up from the toeside, from your knees.
Protective gear
Wrist guards: The safety measure with the strongest evidence in snowboarding. In a randomised study of 5,029 snowboarders, there were 8 wrist injuries in the group wearing guards and 29 in the group without; according to a systematic review of 6 studies, the risk drops to about a quarter. In the Colorado study, too, wrist injuries were roughly halved among those wearing wrist guards.
Helmet: Protects your head in backward falls; it is compulsory in Erciyes.
Padded shorts and knee pads: Burton recommends padded shorts to protect your hips and tailbone.
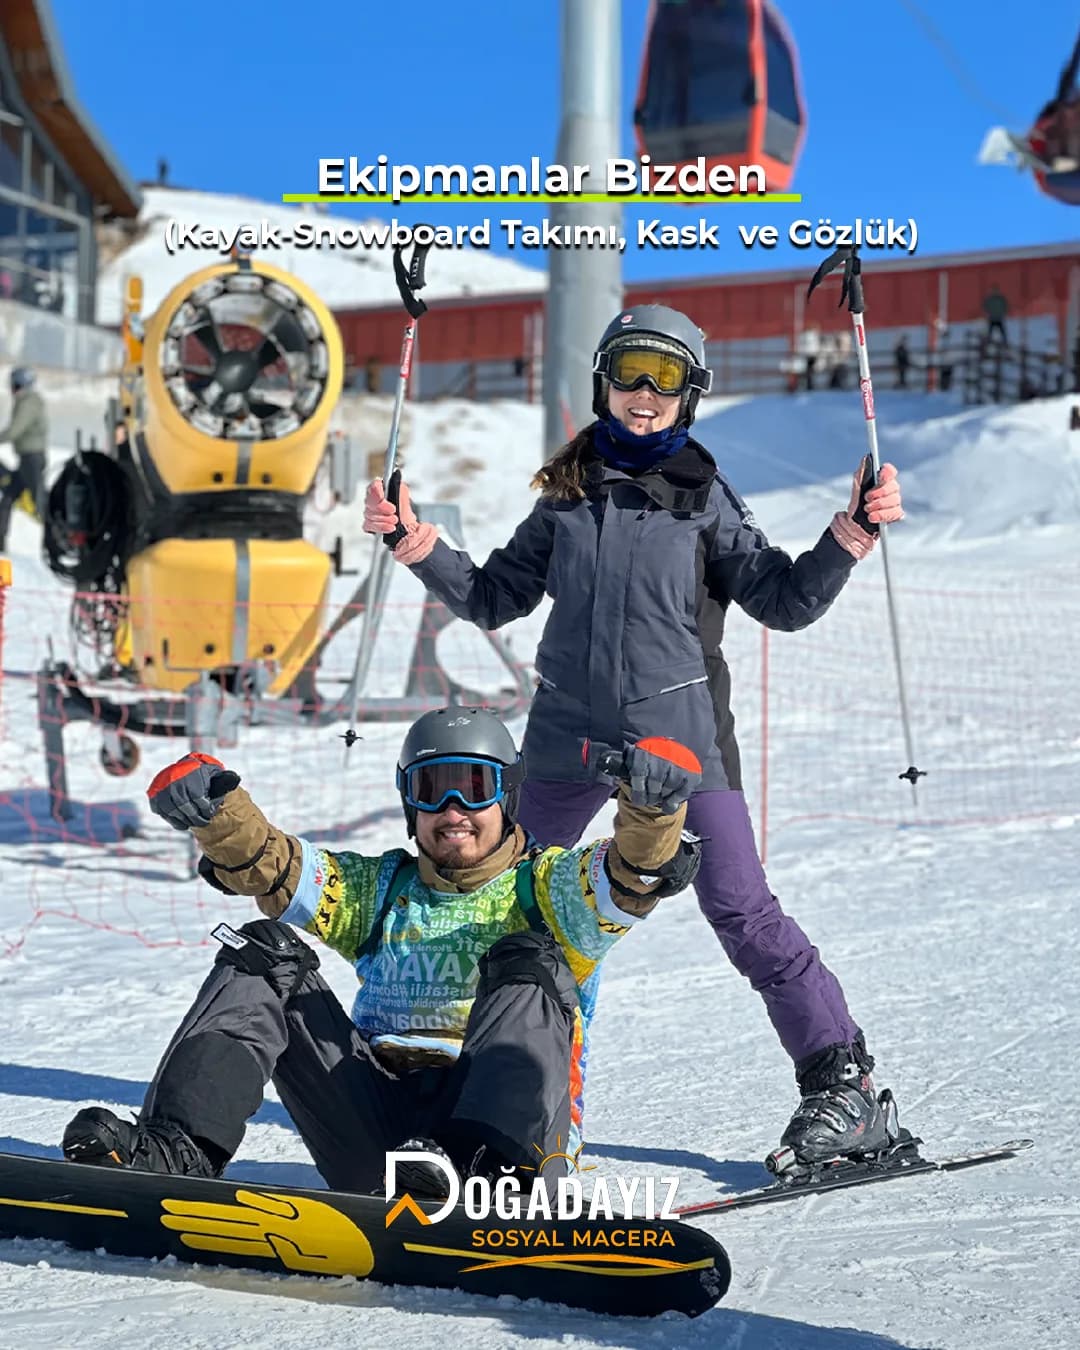
A good snowboard lesson usually starts with falling and getting up: first on flat ground, then on a gentle slope. On an activity holiday, these first hours are spent with an instructor: on Doğadayız Erciyes basic course packages, instructors affiliated with the Turkish Ski Federation (TKF) teach falling and getting up on day one; wrist guards, hip protectors, knee pads, elbow pads, helmet and goggles are included. Falling and getting up together with people at the same level eases first-day nerves; that is also why our programmes are a social adventure holiday.
Doğadayız Packages
Doğadayız packages for your level
Winter activity holidays with accommodation, ski pass and equipment included, shared with a group.
The easiest way to learn to ski: a winter activity holiday
An activity holiday puts a sport at the heart of your trip: transport, accommodation and meals are planned, so you can focus on learning on the slopes. On Doğadayız winter activity holidays, accommodation, ski pass and ski or snowboard equipment are included in every package; course packages include basic lessons with instructors affiliated with the Turkish Ski Federation, while experience packages let you practise on the slopes at your own level.
What makes the programme different is the group: sharing the slopes with people at a similar level, dinners and nights out together, and a group leader by your side at all times. Solo travellers become part of this social adventure holiday from day one. That is why we describe our programmes as a social adventure holiday.
Without putting your hands down: when you feel you are going to fall, make loose fists, get low and stay relaxed. When falling forwards, land on your forearms and knees; when falling backwards, sit down on your bottom, round your back and tuck your chin to your chest.
How do you get up after falling on a snowboard?
Keep the board across the fall line. From the heelside, bend your knees to bring the board close to your bottom and get up by rocking forwards; from the toeside, push off with your hands to straighten up from your knees and get up by rocking backwards.
Why do people break their wrists snowboarding?
Hands thrown out by reflex when you fall put the wrist in the way of the impact. In a 10-year study in Colorado, the wrist was the most commonly injured area and the main mechanism was falling. Correct falling technique and wrist guards reduce this risk significantly.
The pattern of injuries in snowboarding is different from skiing: in skiing the knee comes first, in snowboarding the wrist. In an 18-season study in the US state of Vermont, wrist injuries made up 27.6% of all snowboarding injuries but only 2.8% of skiing injuries; shoulder and collarbone injuries and concussions were also more common among snowboarders. The good news is that the most common injury is also the easiest one to prevent: according to a systematic review pooling 6 studies, wrist guards cut the risk of wrist injury to roughly a quarter. Among helmet wearers, the likelihood of a head injury is about 35% lower. Because beginners are injured more often, wearing protection in the first days and learning how to fall properly matters.
You start snowboarding by finding your stance (regular or goofy), with a beginner lesson with an instructor and with rental equipment. On day one you learn to push with one foot and to side-slip on your heel edge (heelside) and your toe edge (toeside); then you change direction with the falling leaf, and usually on day 2–3 you make your first linked turns.
The J-turn is the first turn you learn on a snowboard: while gliding straight on a gentle slope, you tilt the board onto one edge and turn uphill to stop; your track looks like the letter J. In Burton's beginner sequence, the J-turn comes after skating with one foot and before the edge work. In a heelside J-turn you put your weight on your heels and look over your heelside shoulder; on the toeside you put your weight over the balls of your feet and look towards your toe edge. It is your front foot and your gaze that steer the board; your back foot completes the movement. After the J-turn come C-turns and linked S-turns.