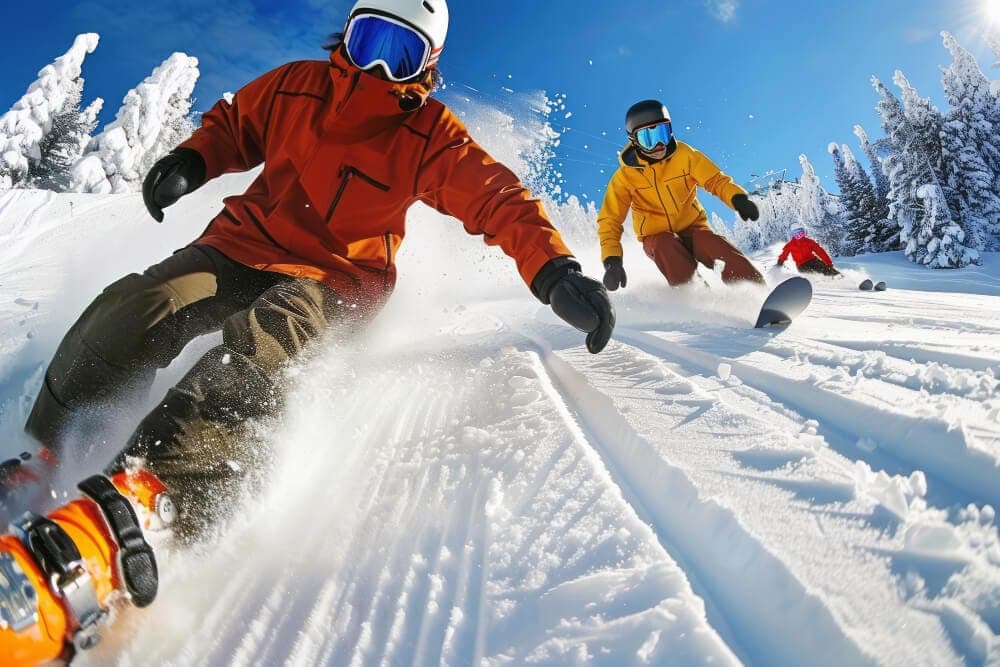
The J-turn is the first turn you learn on a snowboard: while gliding straight on a gentle slope, you tilt the board onto one edge and turn uphill to stop; your track looks like the letter J. In Burton's beginner sequence, the J-turn comes after skating with one foot and before the edge work. In a heelside J-turn you put your weight on your heels and look over your heelside shoulder; on the toeside you put your weight over the balls of your feet and look towards your toe edge. It is your front foot and your gaze that steer the board; your back foot completes the movement. After the J-turn come C-turns and linked S-turns.
Burton's sequence for beginners goes like this: gliding on flat ground → skating with one foot → J-turn → heelside edge → toeside edge → falling leaf → C-turns. The J-turn is the bridge that connects gliding straight to edge control: for the first time you turn the board in the direction you want and stop on your own.
Preparation
Terrain: A very gentle slope that runs out onto the flat; the beginner area of your first day is ideal.
Riding with one foot: First you should be comfortable gliding straight with your back foot out of the binding; see the one-footed riding entry in the glossary.
Both feet strapped in: The J-turn is done with both feet strapped in, after a short straight glide.
The heelside J-turn: step by step
On a gentle slope, point the board close to the fall line, keep it flat and glide a short distance; weight evenly on both feet, slightly forward.
Turn your gaze: Look over your heelside shoulder in the direction you want to turn. According to Burton, your gaze and shoulders steer the turn.
Put your weight on your heels: Press gently through your heels; the board tilts onto the heel edge.
Steer with your front foot: As the New Zealand Snowsports Instructors Alliance (NZSIA) describes it, the front foot and leg start the turn and the back foot completes the movement.
Turn uphill and stop: As the board turns up the slope, your speed drops and you stop. Your track draws the letter J.
The toeside J-turn
This is the same movement on the toe edge:
After a short straight glide, look towards your toe edge (Burton).
Put your weight over the balls of your feet; press your shins into the front of your boots.
Steer the board uphill with your front foot and stop.
Because you face up the slope on the toeside, your first attempts may feel more intimidating; for details, see our guide Toeside: Riding on Your Toe Edge.
Common mistakes
Mistake
Result
Fix
Putting your weight on your back foot
The board does not turn the way you want, it skids
Weight on both feet, slightly forward; the front foot starts the turn
Keep the straight glide short, move onto the edge gently
Trying it on a slope that is too steep
Speed builds up, fear grows
Choose a very gentle slope that runs out onto the flat
Next step: the C-turn and the S-turn
After the J-turn you get the two edges themselves solid (heelside and toeside side-slipping, the falling leaf). Then comes the C-turn: according to Burton, you very slowly shift your weight onto your front foot, let the board turn down the slope and complete the turn uphill. Join two C-turns and you get an S-turn; for details, see our guide Linked S-Turns on a Snowboard.
Your first turn on an activity holiday
The moment you make your first turn on your own is one of the best moments in learning to snowboard; with an instructor and a group at the same level, that moment comes sooner. On an activity holiday, the first day is spent in the beginner area, with the magic carpet and an instructor: on Doğadayız basic course packages in Erciyes, the snowboard set and protective gear are included in the package. Learning with people who share the same excitement turns the programme into a social adventure holiday; for the full roadmap, see our guide How Do You Start Learning to Snowboard?.
Doğadayız Packages
Doğadayız packages for your level
Winter activity holidays with accommodation, ski pass and equipment included, shared with a group.
The easiest way to learn to ski: a winter activity holiday
An activity holiday puts a sport at the heart of your trip: transport, accommodation and meals are planned, so you can focus on learning on the slopes. On Doğadayız winter activity holidays, accommodation, ski pass and ski or snowboard equipment are included in every package; course packages include basic lessons with instructors affiliated with the Turkish Ski Federation, while experience packages let you practise on the slopes at your own level.
What makes the programme different is the group: sharing the slopes with people at a similar level, dinners and nights out together, and a group leader by your side at all times. Solo travellers become part of this social adventure holiday from day one. That is why we describe our programmes as a social adventure holiday.
It means tilting the board onto one edge while gliding straight on a gentle slope and turning uphill to stop; your track looks like the letter J. It is the first turn you learn on a snowboard.
Where should I look during a J-turn?
In the direction you want to turn. In a heelside J-turn, look over your heelside shoulder; in a toeside J-turn, look towards your toe edge. Your gaze and shoulders steer the turn.
What do you learn after the J-turn?
Heelside and toeside side-slipping and the falling leaf, followed by C-turns. Join two C-turns together and you get a linked S-turn.
A linked S-turn means joining heelside and toeside turns without stopping so that you draw an S shape down the slope; it is the measure of being able to say “I can ride” on a snowboard. According to the New Zealand Snowsports Instructors Alliance (NZSIA), the turn comes from the lower body: the front foot starts the turn by steering the board into the fall line, and the back foot follows that movement to finish the turn. To change edges you only move sideways as much as you need to, and the timing of the edge change is critical: a sudden change before the fall line makes the downhill edge catch in the snow. The most common mistake is leaning back out of fear as you go into the turn.
Heelside is the long edge of the snowboard under your heels. On the heel edge you stand facing down the slope and press this edge into the snow by pushing through your heels: increase the pressure and you slow down and stop, ease it off and you slide. Most beginners learn speed control and stopping on a snowboard on the heelside first.
Toeside means riding on the toe edge of the snowboard: your face and chest face up the slope and your back faces the valley. Beginners usually learn heelside first and then toeside; Burton's beginner sequence follows the same order. On the toeside you balance over the balls of your feet, pressing both shins evenly into the front of your boots. To slide, you ease off the shin pressure a little and lower your heels; to stop, you bend your ankles and knees a little more and bring your hips over the balls of your feet. Next comes the falling leaf, where you steer the board left and right.