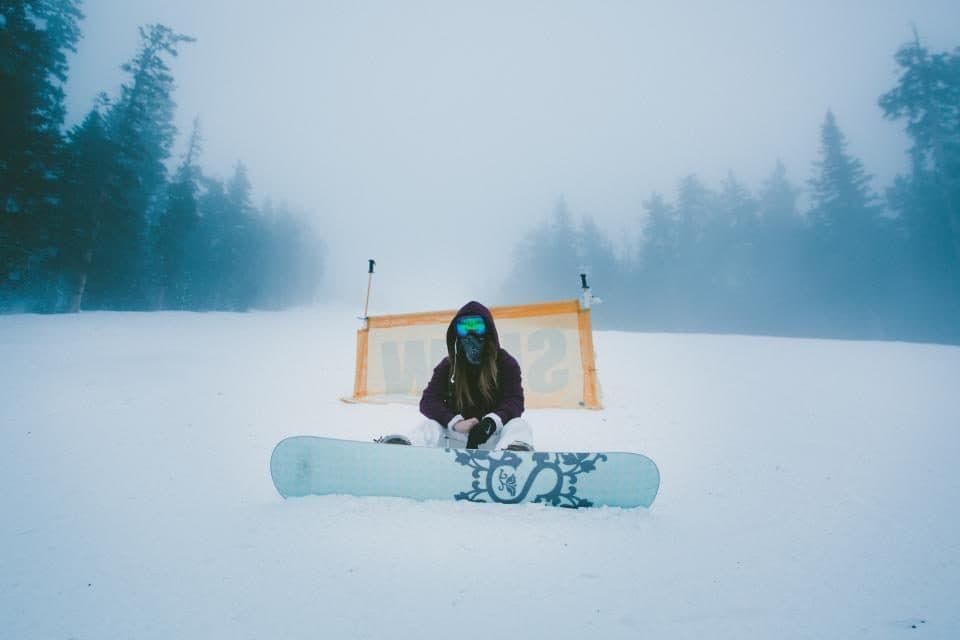
Skating means moving along flat ground with your front foot strapped into the binding, pushing with your free back foot like on a skateboard. Your back foot steps down between the two bindings, on the heel or toe side of the board; you take small, slow steps and never push behind the back binding. Then you put your back foot on the stomp pad or next to the back binding and glide, and to stop you drag your free foot in the snow. You use this skill every day on the slopes: getting on and off the magic carpet, drag lifts and chairlifts requires knowing how to skate with one foot.
The snowboard manual of NZSIA, the New Zealand ski and snowboard instructors' alliance, states the aim of this skill clearly: to move around on snow with one foot strapped in and to get to and from different lifts. Burton also stresses that gliding and skating are the basic skills you need to get on and off a chairlift safely.
Strap in only your front foot; your back foot stays free.
Choose a flat or very gently sloping area that isn't crowded.
Bend your knees slightly and keep your weight over your front foot.
1. Pushing (skating)
Put your back foot next to the board, somewhere between the two bindings.
Push yourself along with a small, slow step, as if pushing a skateboard.
Don't take your back foot further forward than the front binding; Burton also says not to push behind the back binding, otherwise you may lose your balance or end up doing the splits.
Push a few steps, then glide.
Which side should you push from? This is where the sources differ. Burton describes pushing with your back foot on the heel side. NZSIA, on the other hand, suggests trying the heel side first, then the toe side, and choosing whichever feels more comfortable. Try both; but bear in mind that when getting on a chairlift your back foot will be on the toe side.
2. Gliding
After a few pushes, put your back foot on the board, on the stomp pad or right next to the back binding. A stomp pad is a non-slip pad stuck onto the board so that your foot doesn't slip when only one foot is strapped in; if there isn't one, next to the binding works too.
Spread your weight over both feet, keep the board flat and glide.
Braking: Lightly drag the toes of your free foot in the snow along the toe edge, or your heel along the heel edge.
3. Climbing
NZSIA's method for climbing a short slope with one foot strapped in:
Face uphill, with the board across the slope.
Your back foot should be on the toe side of the board.
Climb up with small steps while the board's toe edge grips the snow.
You can carry your board or ride with it strapped to your front foot. If you are strapped in, put most of your weight on your free back foot; that way you won't slide backwards
T-bar
Put your back foot in front of the back binding
Button lift
Put the button between your legs or under your back armpit and stand upright; at the top, clear the area straight away
[Chairlift](/outdoor-akademi/sozluk/kayak#telesiyej): getting on
Back foot on the toe side, sit down, with the nose of the board pointing forward; once the boards are off the snow, lower the safety bar
Chairlift: getting off
When the board touches the snow, put your back foot in front of the back binding, stand up slowly, glide down the ramp and clear the unloading area
Tips: NZSIA advises instructors to seat riders facing the same way (regular with regular, goofy with goofy) next to each other, to ask for an empty seat beside them if needed, and to ask the operator to slow the lift down. You can ask for these on your first rides too. For details on snowboarding on drag lifts, see the snowboarding on drag lifts entry in the glossary.
Common mistakes
Mistake
Result
Fix
Pushing behind the back binding
Loss of balance, doing the splits
Keep your foot between the two bindings
Big, fast steps
The board changes direction, you fall
Small, slow steps
Piling your weight onto your back foot
The board gets out of control
Weight on your front foot; on both feet when gliding
Pushing the nose of the board with your foot
The board turns sideways
Put your foot next to the board and push the snow, not the nose
No way to brake while gliding
Crashing in the lift queue
Drag the toes or heel of your free foot
A skill you use every day
Someone who skates comfortably with one foot gets through the lift queues without getting stuck and gets more runs in; on an activity holiday, that means more time on the slopes. On Doğadayız basic course packages, your first lift rides are with an instructor; accommodation, ski pass and equipment are included in all winter packages. Lending a hand to the person behind you on the magic carpet and sitting side by side on the chairlift for the first time are also small but memorable moments of a social adventure holiday. The next step is falling and getting up safely; for programmes, see our winter activity holidays page.
Doğadayız Packages
Doğadayız packages for your level
Winter activity holidays with accommodation, ski pass and equipment included, shared with a group.
The easiest way to learn to ski: a winter activity holiday
An activity holiday puts a sport at the heart of your trip: transport, accommodation and meals are planned, so you can focus on learning on the slopes. On Doğadayız winter activity holidays, accommodation, ski pass and ski or snowboard equipment are included in every package; course packages include basic lessons with instructors affiliated with the Turkish Ski Federation, while experience packages let you practise on the slopes at your own level.
What makes the programme different is the group: sharing the slopes with people at a similar level, dinners and nights out together, and a group leader by your side at all times. Solo travellers become part of this social adventure holiday from day one. That is why we describe our programmes as a social adventure holiday.
With your front foot strapped in, you put your free back foot between the two bindings, on the heel or toe side of the board, and push with small, slow steps like on a skateboard. Don't push behind the back binding. Then you put your back foot on the stomp pad or next to the back binding and glide.
How do you get off a chairlift on a snowboard?
According to NZSIA, when the board touches the snow you put your back foot in front of the back binding, stand up slowly, glide down the unloading ramp and clear the unloading area straight away.
Do I need a stomp pad?
No. A stomp pad is a non-slip pad stuck onto the board so that your back foot doesn't slip when only one foot is strapped in. NZSIA says that when gliding you can put your back foot on the stomp pad or next to the back binding.
You start snowboarding by finding your stance (regular or goofy), with a beginner lesson with an instructor and with rental equipment. On day one you learn to push with one foot and to side-slip on your heel edge (heelside) and your toe edge (toeside); then you change direction with the falling leaf, and usually on day 2–3 you make your first linked turns.
Ski resorts have four types of lift: the magic carpet, the drag lift (T-bar), the chairlift and the gondola. Beginners master the magic carpet first, then the chairlift; the drag lift is the hardest because it takes balance. The basic rule on a chairlift: watch the chair over your shoulder, sit all the way back, lower the safety bar once everyone is seated, raise it as you approach the top and move away from the ramp straight away. On a snowboard, you ride the lifts with your back foot out of the binding. Under the Erciyes rules, children may not ride the lifts without an adult.
The J-turn is the first turn you learn on a snowboard: while gliding straight on a gentle slope, you tilt the board onto one edge and turn uphill to stop; your track looks like the letter J. In Burton's beginner sequence, the J-turn comes after skating with one foot and before the edge work. In a heelside J-turn you put your weight on your heels and look over your heelside shoulder; on the toeside you put your weight over the balls of your feet and look towards your toe edge. It is your front foot and your gaze that steer the board; your back foot completes the movement. After the J-turn come C-turns and linked S-turns.